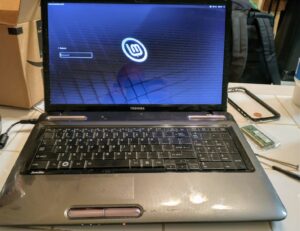

A friend was throwing away an old computer running Windows XP because it was of no use to him any longer. I volunteered to take it off his hands and save it from the trash heap because I wanted to experiment with it.
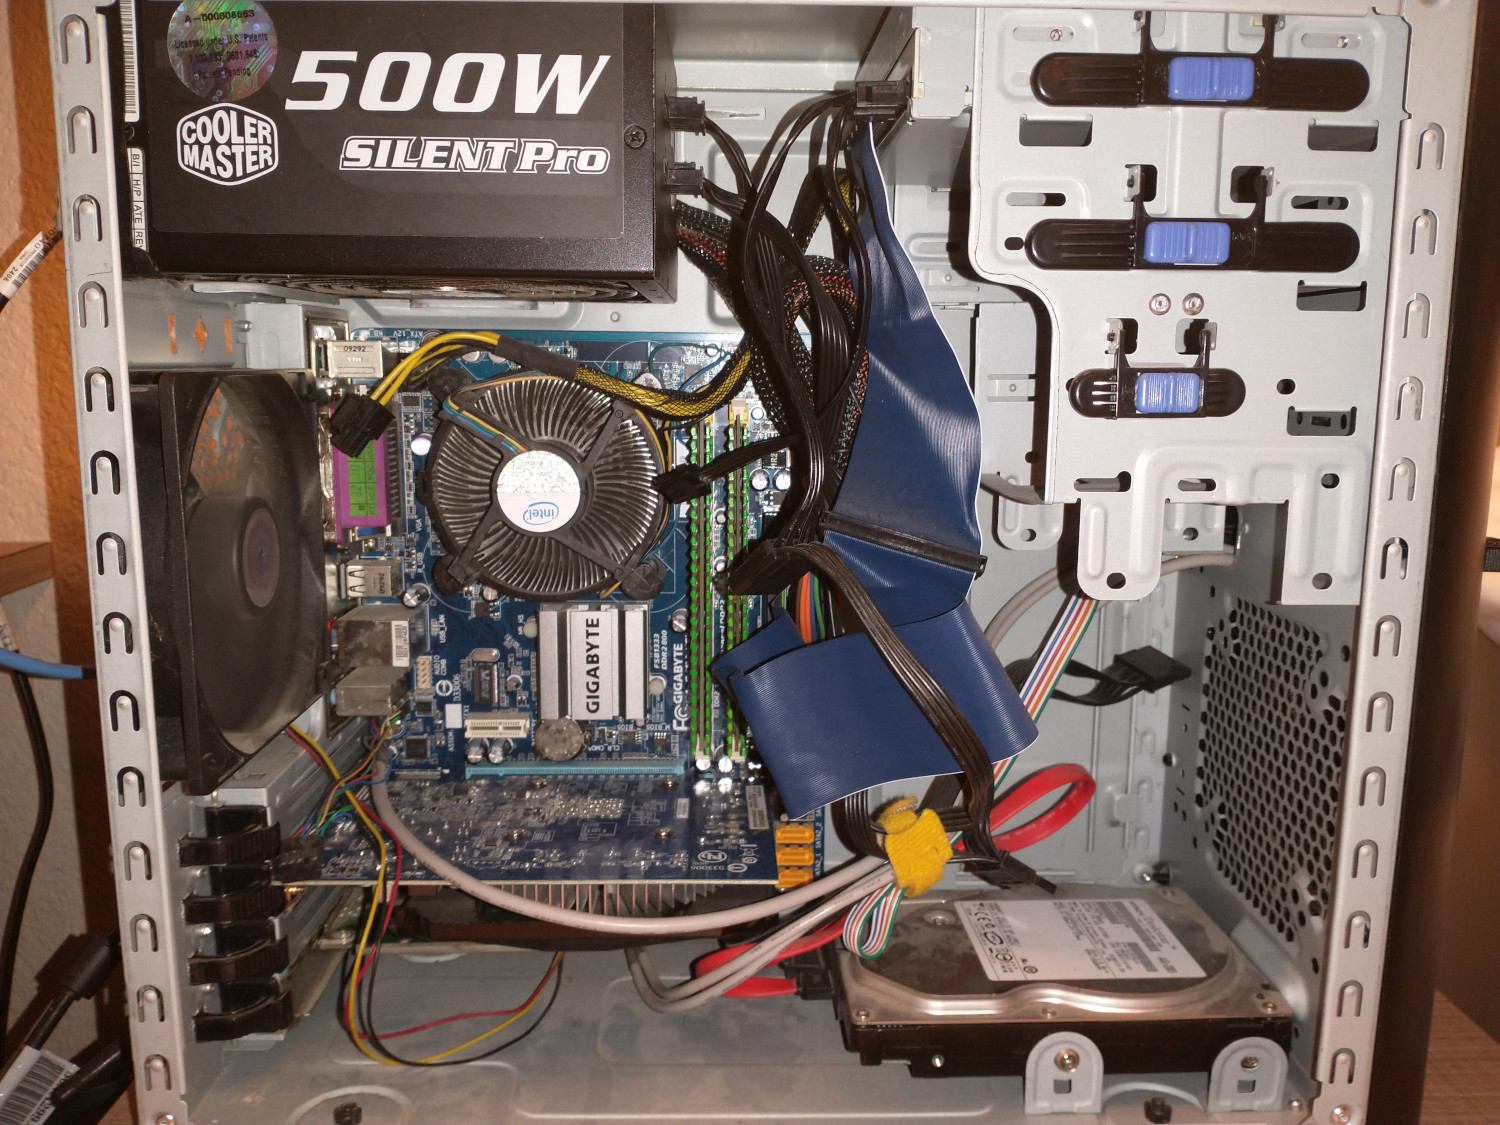
I took the machine home to have a look at the specs. I knew it had Windows XP installed and when I looked at the hardware I found the following specs:
- Processor: Intel Core 2 Quad CPU Q8400 @2.66GHz
- RAM: 4 GB
- Motherboard: G41M-ES2L
- Ethernet Card: Realtek RTL8111/8168/8411 Gigabit
- Wireless Card: Broadcom BCM4306 802.11b/g Rev 03
- Graphics Card: NVIDIA GeForce GT 730
- Hard Drive: 500 GB HDD
This machine is no power-house but I had great results installing Linux Mint on my laptop so I wanted to see how it worked on this desktop machine.
The setup didn’t go as smoothly with this machine as it did with my laptop. Specifically, the Wi-Fi card wouldn’t work and I had a very difficult time getting the drivers for the Wi-Fi card installed. Where I’m currently living I have Wi-Fi access but I have no access at all to the router. Fortunately, I do have another desktop that I could use to connect to the Internet to get information, drivers, etc.
Everything I found when searching for solutions to get the Broadcom drivers updated assumed the reader had Internet access on the machine needing the updates. This wasn’t the case for me. So I grabbed an ethernet cable and connected the trash-bound desktop to my daily-driver desktop running Windows 10 with the intent of turning the Windows 10 machine into a hotspot of sorts.
The steps I took to use my Windows 10 desktop with Wi-Fi Internet access to feed Internet access to the second desktop were as follows:
I directly connected the two machines with an ethernet cable.
On the Window 10 desktop I opened the Network Connections menu. You can find this by simply typing “Network Connections” in the search field in the task bar.
I then right-clicked my active Wi-Fi connection and chose “Properties.”
In the Properties window I clicked the “Sharing” tab and checked the box that says “Allow other network users to connect through this computer’s Internet connection.”
In the same window under “Home networking connection:” I chose Ethernet and hit OK.
This was all that was needed to get Internet access for the second desktop. The next step was to get the Wi-Fi card working by updating the necessary drivers. This was accomplished using the following commands in the Linux terminal:
sudo apt install firmware-b43-installer
Followed by:
sudo reboot
Once I rebooted, the Wi-Fi card came to life.
Linux Mint works fine on the desktop that was rescued from the trash but it’s not as snappy as it is on my laptop that has a less powerful CPU. I attribute this to the fact that my laptop has 8 GB RAM as compared to 4 GB in the desktop. The extra 4 GB of RAM definitely increases the performance of the web browser which I use to watch YouTube videos and my training videos.